Acrylic Jig
Preparations
Required Material:
Machine Used:
Downloads:
- TroGlass 3 mm, but you can use any material to produce this jig.
- Speedy 360 80 watt with a 2″ lens
For this application sample you can use any laser machine from the Speedy laser engraver series.
Tips: We used a caliper to measure the item that the jig will contain. If you are processing acrylics, your bed must be completely sealed off to ensure a well-defined, clean edge.
Step 1: Import file design into Software
Create your design or use our template. Send it to the laser with the recommended laser parameters. The parameters can vary depending on the machine used and the available laser power.
Process Mode: Standard / Resolution: 500dpi / Cut line: None / Halftone: Color / Others: None

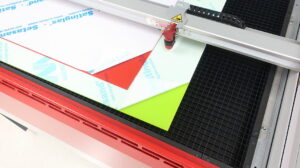
Step 2: Laser process
Ensure that you know all of the guidelines to properly laser process the material. For example, with acrylic, you must mask off your bed and activate the exhaust system or utilize the laser table.

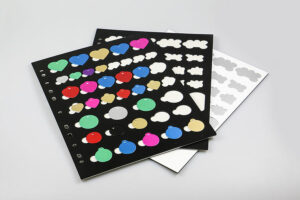
Step 3: Post-processing
Apply glue or an adhesive backing to fasten the two material together.
Inspirations
- You can utilize jigs for a wide range of applications, such as dog tags, ink pens, data plates, part marking, etc.
- Laser engraving irregularly shaped items can be challenging and time-consuming. Using a jig will provide efficiency, accuracy, and interchangeability.